# Creating your app
1. Sign in to [Firebase](https://console.firebase.google.com/).
2. In the Firebase console, click **Add Project** (or **Create a project**), and name your Firebase project **Firebase-Flutter-yourname**.
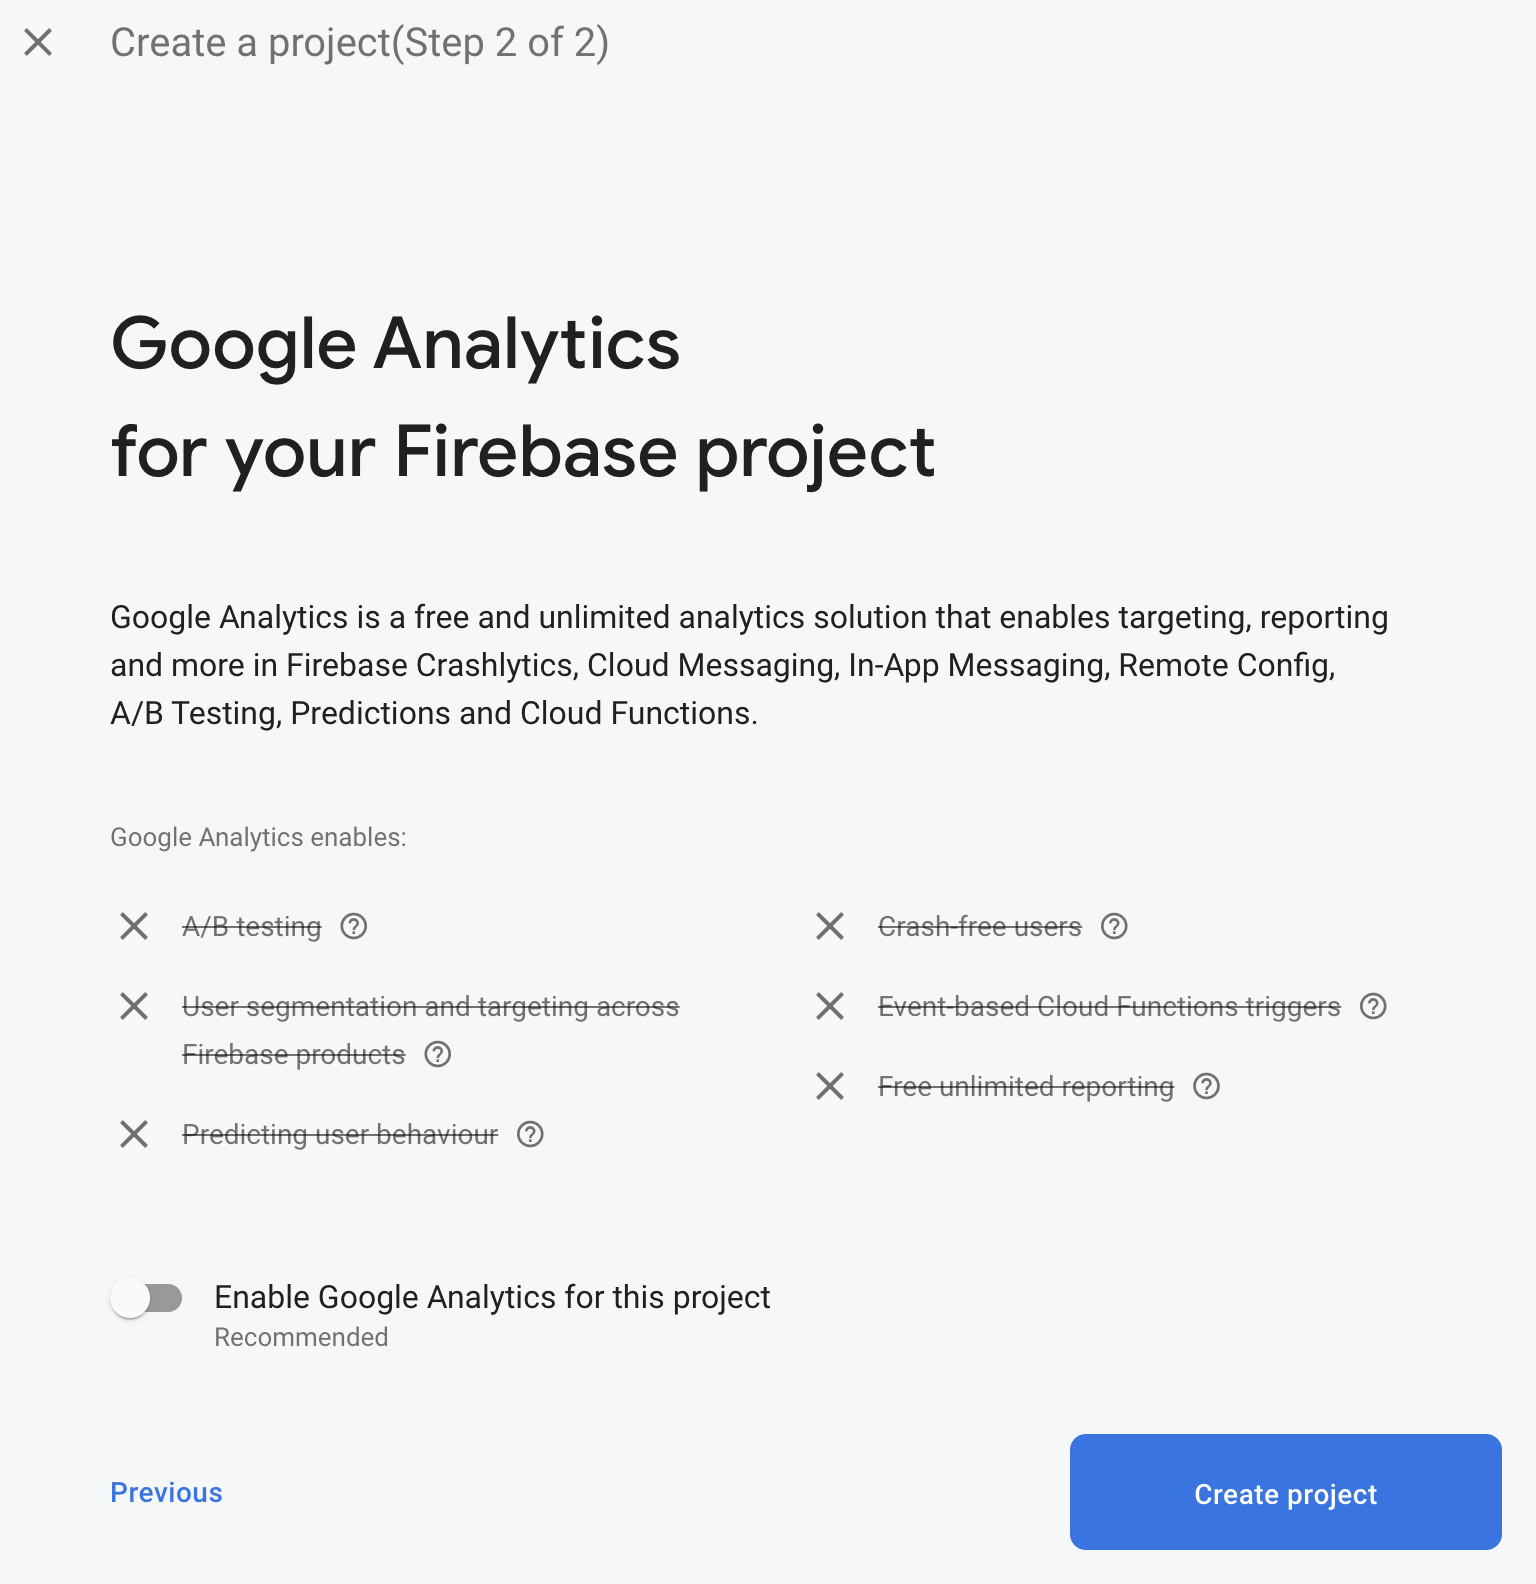
3. Click through the project creation options. Accept the Firebase terms if prompted. Skip setting up Google Analytics, because you won't be using Analytics for this app.
To learn more about Firebase projects, see [Understand Firebase projects](https://www.google.com/url?q=https://firebase.google.com/docs/projects/learn-more\&sa=D\&ust=1568059744191000\&usg=AFQjCNEo043D9nD4a1aS2AjK8ReenvZ3Pg).
The app that you're building uses several Firebase products that are available for web apps:
* **Firebase Authentication** to allow your users to sign in to your app.
* **Cloud Firestore** to save structured data on the cloud and get instant notification when data changes.
* **Firebase Security Rules** to secure your database.
Some of these products need special configuration or need to be enabled using the Firebase console.
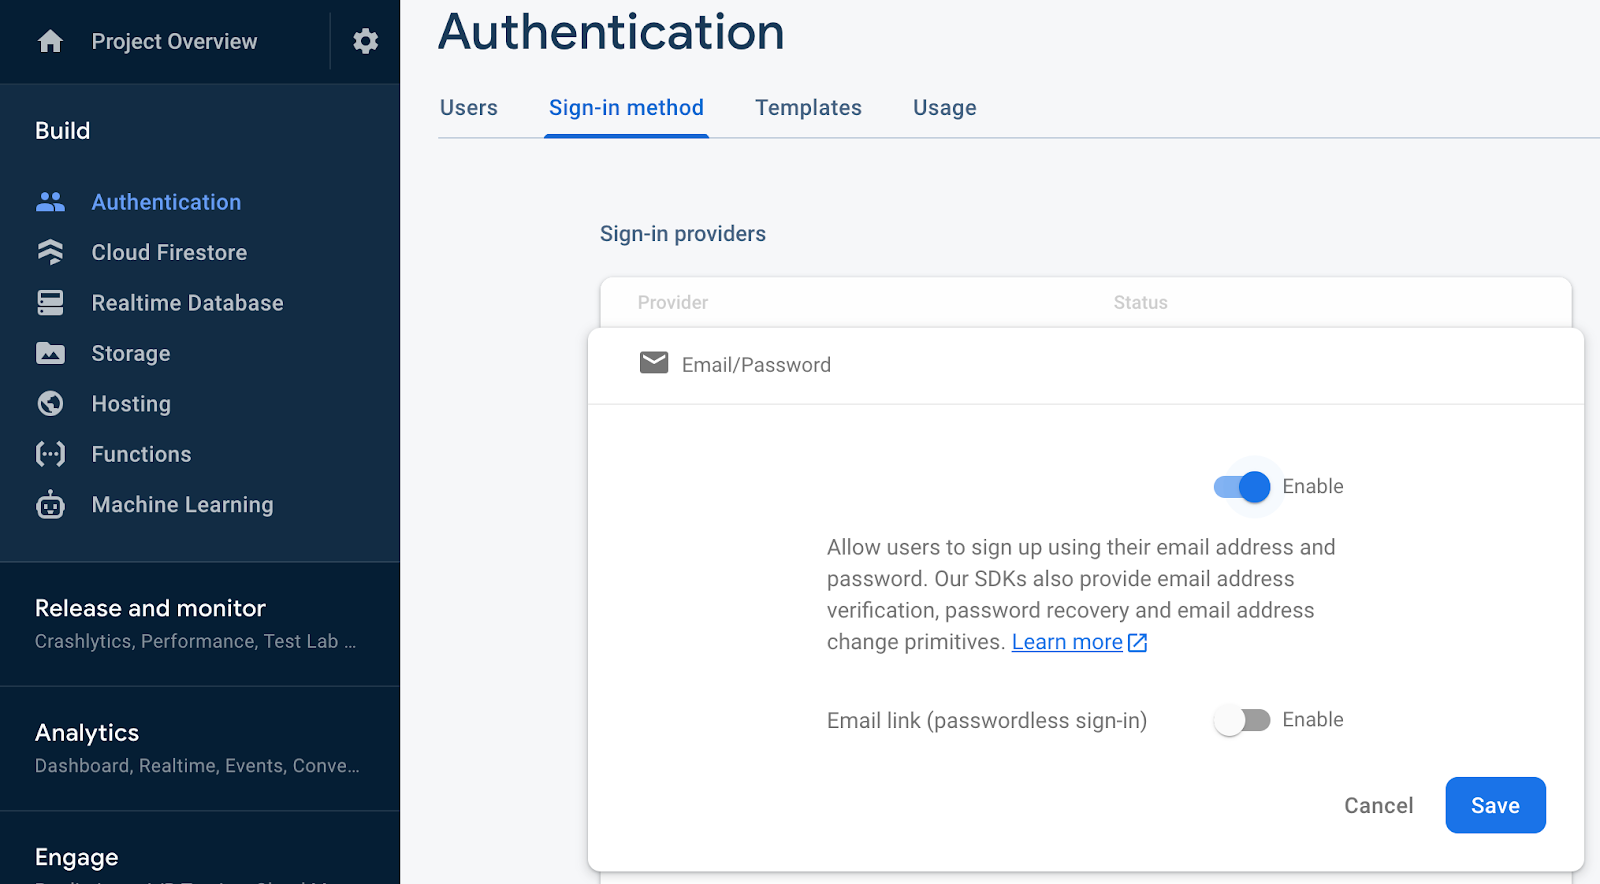
### Enable email sign-in **for Firebase Authentication**
To allow users to sign in to the web app, you'll use the **Email/Password** sign-in method for this codelab:
1. In the Firebase console, expand the **Build** menu in the left panel.
2. Click **Authentication**, and then click the **Get Started** button, then the **Sign-in method** tab (or [click here](https://console.firebase.google.com/project/_/authentication/providers) to go directly to the **Sign-in method** tab).
3. Click **Email/Password** in the **Sign-in providers** list, set the **Enable** switch to the on position, and then click **Save**.
### **Enable Cloud Firestore**
The web app uses [Cloud Firestore](https://firebase.google.com/docs/firestore/) to save chat messages and receive new chat messages.
Enable Cloud Firestore:
1. In the Firebase console's **Build** section, click **Cloud Firestore**.
2. Click **Create database**.
3. Select the **Start in test mode** option. Read the disclaimer about the security rules. Test mode ensures that you can freely write to the database during development. Click **Next**.
4. Select the location for your database (You can just use the default). Note that this location can't be changed later.
5. Click **Enable**.
### Firebase configuration
In order to use Firebase with Flutter, you need to follow a process to configure the Flutter project to utilise the FlutterFire libraries correctly:
* Add the FlutterFire dependencies to your project
* Register the desired platform on the Firebase project
* Download the platform-specific configuration file, and add it to the code.
In the top-level directory of your Flutter app, there are subdirectories called `android`, `ios`, `macos` and `web`. These directories hold the platform-specific configuration files for iOS and Android, respectively.
## Configure dependencies
You need to add the FlutterFire libraries for the two Firebase products you are utilizing in this app - Firebase Auth and Cloud Firestore. Run the following three commands to add the depencies.
```
$ flutter pub add firebase_core
Resolving dependencies...
+ firebase_core 1.10.5
+ firebase_core_platform_interface 4.2.2
+ firebase_core_web 1.5.2
+ flutter_web_plugins 0.0.0 from sdk flutter
+ js 0.6.3
test_api 0.4.3 (0.4.8 available)
Changed 5 dependencies!
```
The [`firebase_core`](https://pub.dev/packages/firebase_core) is the common code required for all Firebase Flutter plugins.
```
$ flutter pub add firebase_auth
Resolving dependencies...
+ firebase_auth 3.3.3
+ firebase_auth_platform_interface 6.1.8
+ firebase_auth_web 3.3.4
+ intl 0.17.0
test_api 0.4.3 (0.4.8 available)
Changed 4 dependencies!
```
The [`firebase_auth`](https://pub.dev/packages/firebase_auth) enables integration with Firebase's Authentication capability.
```
$ flutter pub add cloud_firestore
Resolving dependencies...
+ cloud_firestore 3.1.4
+ cloud_firestore_platform_interface 5.4.9
+ cloud_firestore_web 2.6.4
test_api 0.4.3 (0.4.8 available)
Changed 3 dependencies!
```
The [`cloud_firestore`](https://pub.dev/packages/cloud_firestore) enables access to Cloud Firestore data storage.
```
$ flutter pub add provider
Resolving dependencies...
+ nested 1.0.0
+ provider 6.0.1
test_api 0.4.3 (0.4.8 available)
Changed 2 dependencies!
```
While you have added the required packages, you also need to configure the iOS, Android, macOS and Web runner projects to appropriately utilise Firebase. You are also using the [`provider`](https://pub.dev/packages/provider) package that will enable separation of business logic from display logic.
### Installing `flutterfire`
* The FlutterFire CLI depends on the underlying Firebase CLI. If you haven't done so already, install or update to the latest version of the [Firebase CLI](https://firebase.google.com/docs/cli).
* Next, install the FlutterFire CLI by running the following command`:`
```
$ dart pub global activate flutterfire_cli
```
After installation, the `flutterfire` command will be globally available.
### Configuring your apps
The CLI extracts information from your Firebase project and selected project applications to generate all the configuration for a specific platform.
In the root of your application, run the configure command:
```
$ flutterfire configure
```
The configuration command will guide you through a number of processes:
1. Selecting a Firebase project (based on the .firebaserc file or from the Firebase Console).
2. Prompt what platforms (e.g. Android, iOS, macOS & web) you would like configuration for.
3. Identify which Firebase applications for the chosen platforms should be used to extract configuration for. By default, the CLI will attempt to automatically match Firebase apps based on your current project configuration.
4. Generate a firebase\_options.dart file in your project.
### Configure macOS
Flutter on macOS builds fully sandboxed applications. As this application is integrating using the network to communicate with the Firebase servers, you will need to configure your application with network client privileges.
#### [macos/Runner/DebugProfile.entitlements](https://github.com/flutter/codelabs/blob/master/firebase-get-to-know-flutter/step_04/macos/Runner/DebugProfile.entitlements)
```
com.apple.security.app-sandbox
com.apple.security.cs.allow-jit
com.apple.security.network.server
com.apple.security.network.client
```
#### [macos/Runner/Release.entitlements](https://github.com/flutter/codelabs/blob/master/firebase-get-to-know-flutter/step_04/macos/Runner/Release.entitlements)
```
com.apple.security.app-sandbox
com.apple.security.network.client
```
See [Entitlements and the App Sandbox](https://docs.flutter.dev/desktop#entitlements-and-the-app-sandbox) for more detail.
{% hint style="info" %}
**Good to know:** your product docs aren't just a reference of all your features! use them to encourage folks to perform certain actions and discover the value in your product.
{% endhint %}